This section will teach you how to get up and running with a new casting form. You’ll learn how to create a customized form using your graphics and logos. In the following phase you’ll then learn how to deploy it online to start getting applications.
How do I create a casting survey?
These steps will take you through creating your first casting.
Within the Choicely platform, all forms are called “Surveys”. You’ll start by giving your survey a name and then adding all of the elements you wish onto it.
- Log into the Choicely Studio at https://studio.choicely.com/
- Click on Surveys in the left hand menu
- If your account already has some surveys then you’ll see them in the main window view. If not, then this area will be blank. Click on the “Create Survey” button to start a new one
- You will now enter the builder view. This view allows you to drag and drop components into your survey but first we need to give it some branding. Click on the design tab in the left hand view
-
This will reveal options that allow you to customize the look and feel of your survey.


Cover image: Adding a cover image will make your survey easy to view within the admin system. It will not be seen by users
Title: The title of your survey will appear at the very top. This will be visible to users.
Allow Anonymous users: Making this option active will mean that users will not have to provide personal details to submit the form.
User can change their answer: Making this option active will allow users to change answers after they submit.
Primary Color: This will change the color of any interactive buttons or elements on the form
Background Color: This will change the background of any added elements. It will not change the background wallpaper of the form
Text Color: This will change the color of the text across the entire form
Start date: You can set an activation date for the form. This means that users will not be able to submit information before that date
End date: Setting an end date will close the form at the time set
6. Once all of your options are set, click on the “Save” button to save your progress.
You are now ready to start adding content to the form.
How do I add elements to my casting survey?
You have now created a survey that is all ready to be populated with content.
Choicely Casting tool has a number of different content types available, These are called “elements”. You can drag and drop elements to configure and reorder in any way you like.
After adding the elements you will publish the survey so that it can start accepting applicants.
Elements are available via a drag and drop interface. You can edit and change them at any time and this will update your survey, even if it’s live on the web.
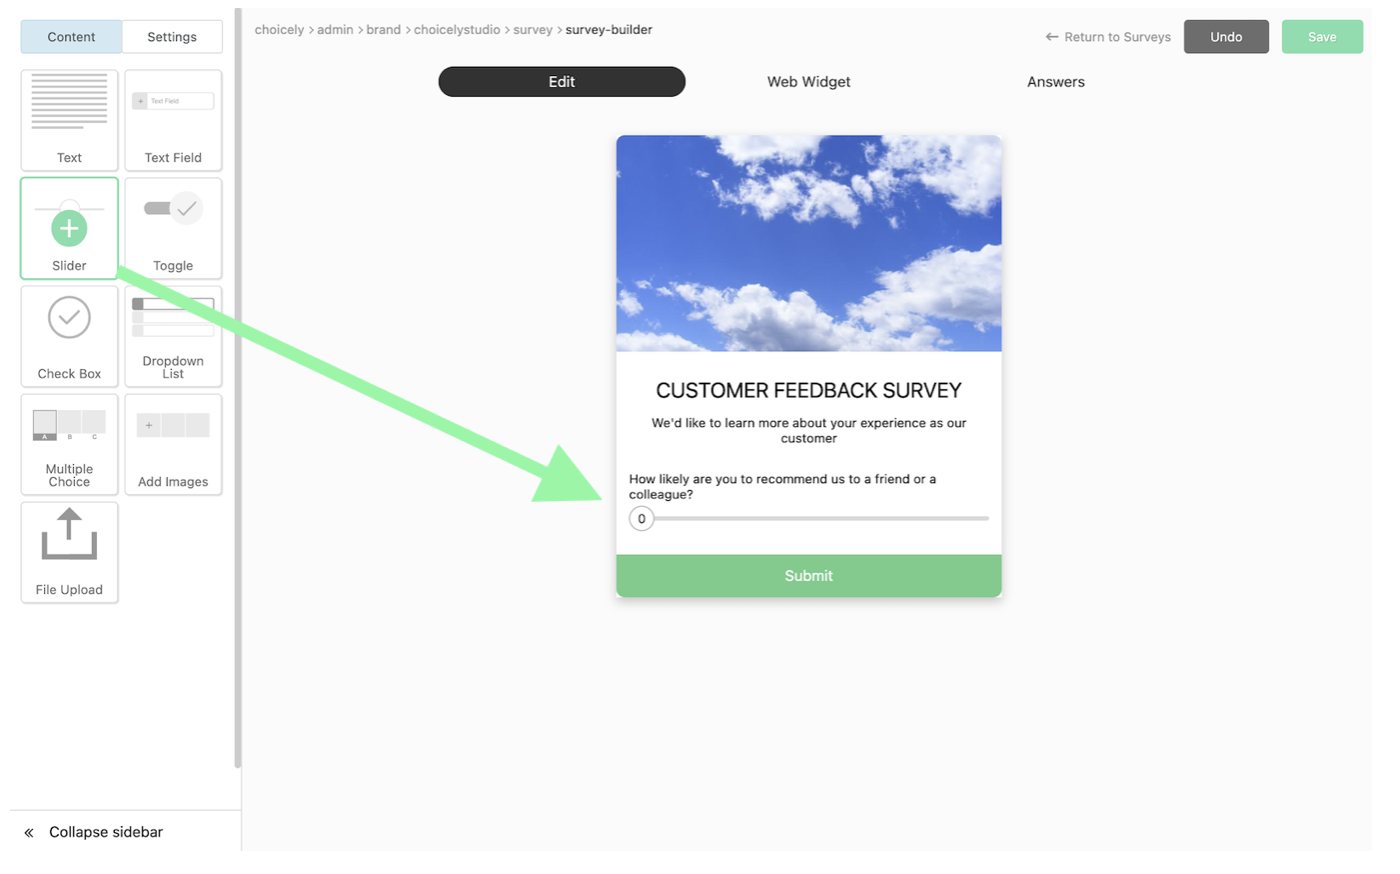
- First of all, you need to make sure that you are in edit mode. Make sure that edit is highlighted from the three options listed at the top of the page
- Click on the content tab on the left hand side of the screen. This will reveal all of the content elements that are available to you
- You can now add elements by dragging and dropping in the right hand side of the screen. They will automatically position themselves. Just drag and drop again if you want to change the order

- After positioning an element on your canvas, you’ll see customization options appear on the right hand side. These will change depending on the element that is highlighted.
- After positioning an element on your canvas, you’ll see customization options appear on the right hand side. These will change depending on the element that is highlighted.
- Each element can be configured to be optional/mandatory and also to show which values are shown by default in the Answers tab.
Activating “user action required” will make the element mandatory
Activating “Show in summary” will show these responses in the “Answers” summary.


Element list
There are two types of elements
Active elements: These are the elements that the user can interact with on the form. User responses will be saved in the system.
Static elements: These are the elements that provide information to the user, or create the look and feel of your form.
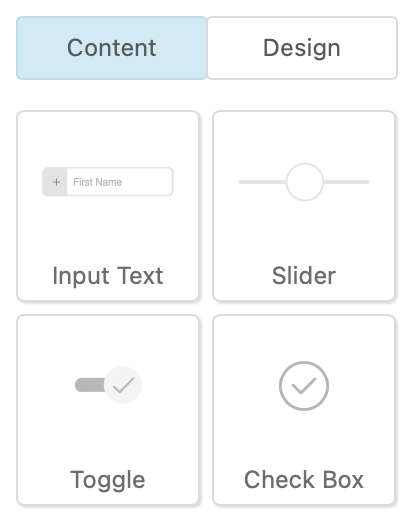
Active Elements
|
|
Input text Text: Use this to capture answers to an open question Number: Useful for age |
|
|
Slider |
|
|
Toggle |
|
|
Check Box |
|
|
Dropdown list |
|
|
Multiple Choice Multiple choice options can be text or can also include an image. |
|
|
Add images Any images that are submitted by the user will be available for you to view within the answers section. |
|
|
File upload |


Static Elements
|
|
Text Use this to add a block of explanatory text to your form. |
|
|
Image Add images to your form |
|
|
Link Add a link to an external webpage. This is a useful way of linking to terms and conditions. |
|
|
Video |
|
|
Follow Adds a button to the form where the user can opt-in for a push notification topic. Only applicable if you have a mobile app connected to your brand. |
|
|
Button |
|
|
Stack options |


Once all your elements are in place, you must make sure that the survey is saved. Hit the green save button regularly to save your work within the survey section. You can then return to it anytime to update.
Read next: How to publish a casting survey